Cooking Class Week 6: Souffles

photo 1

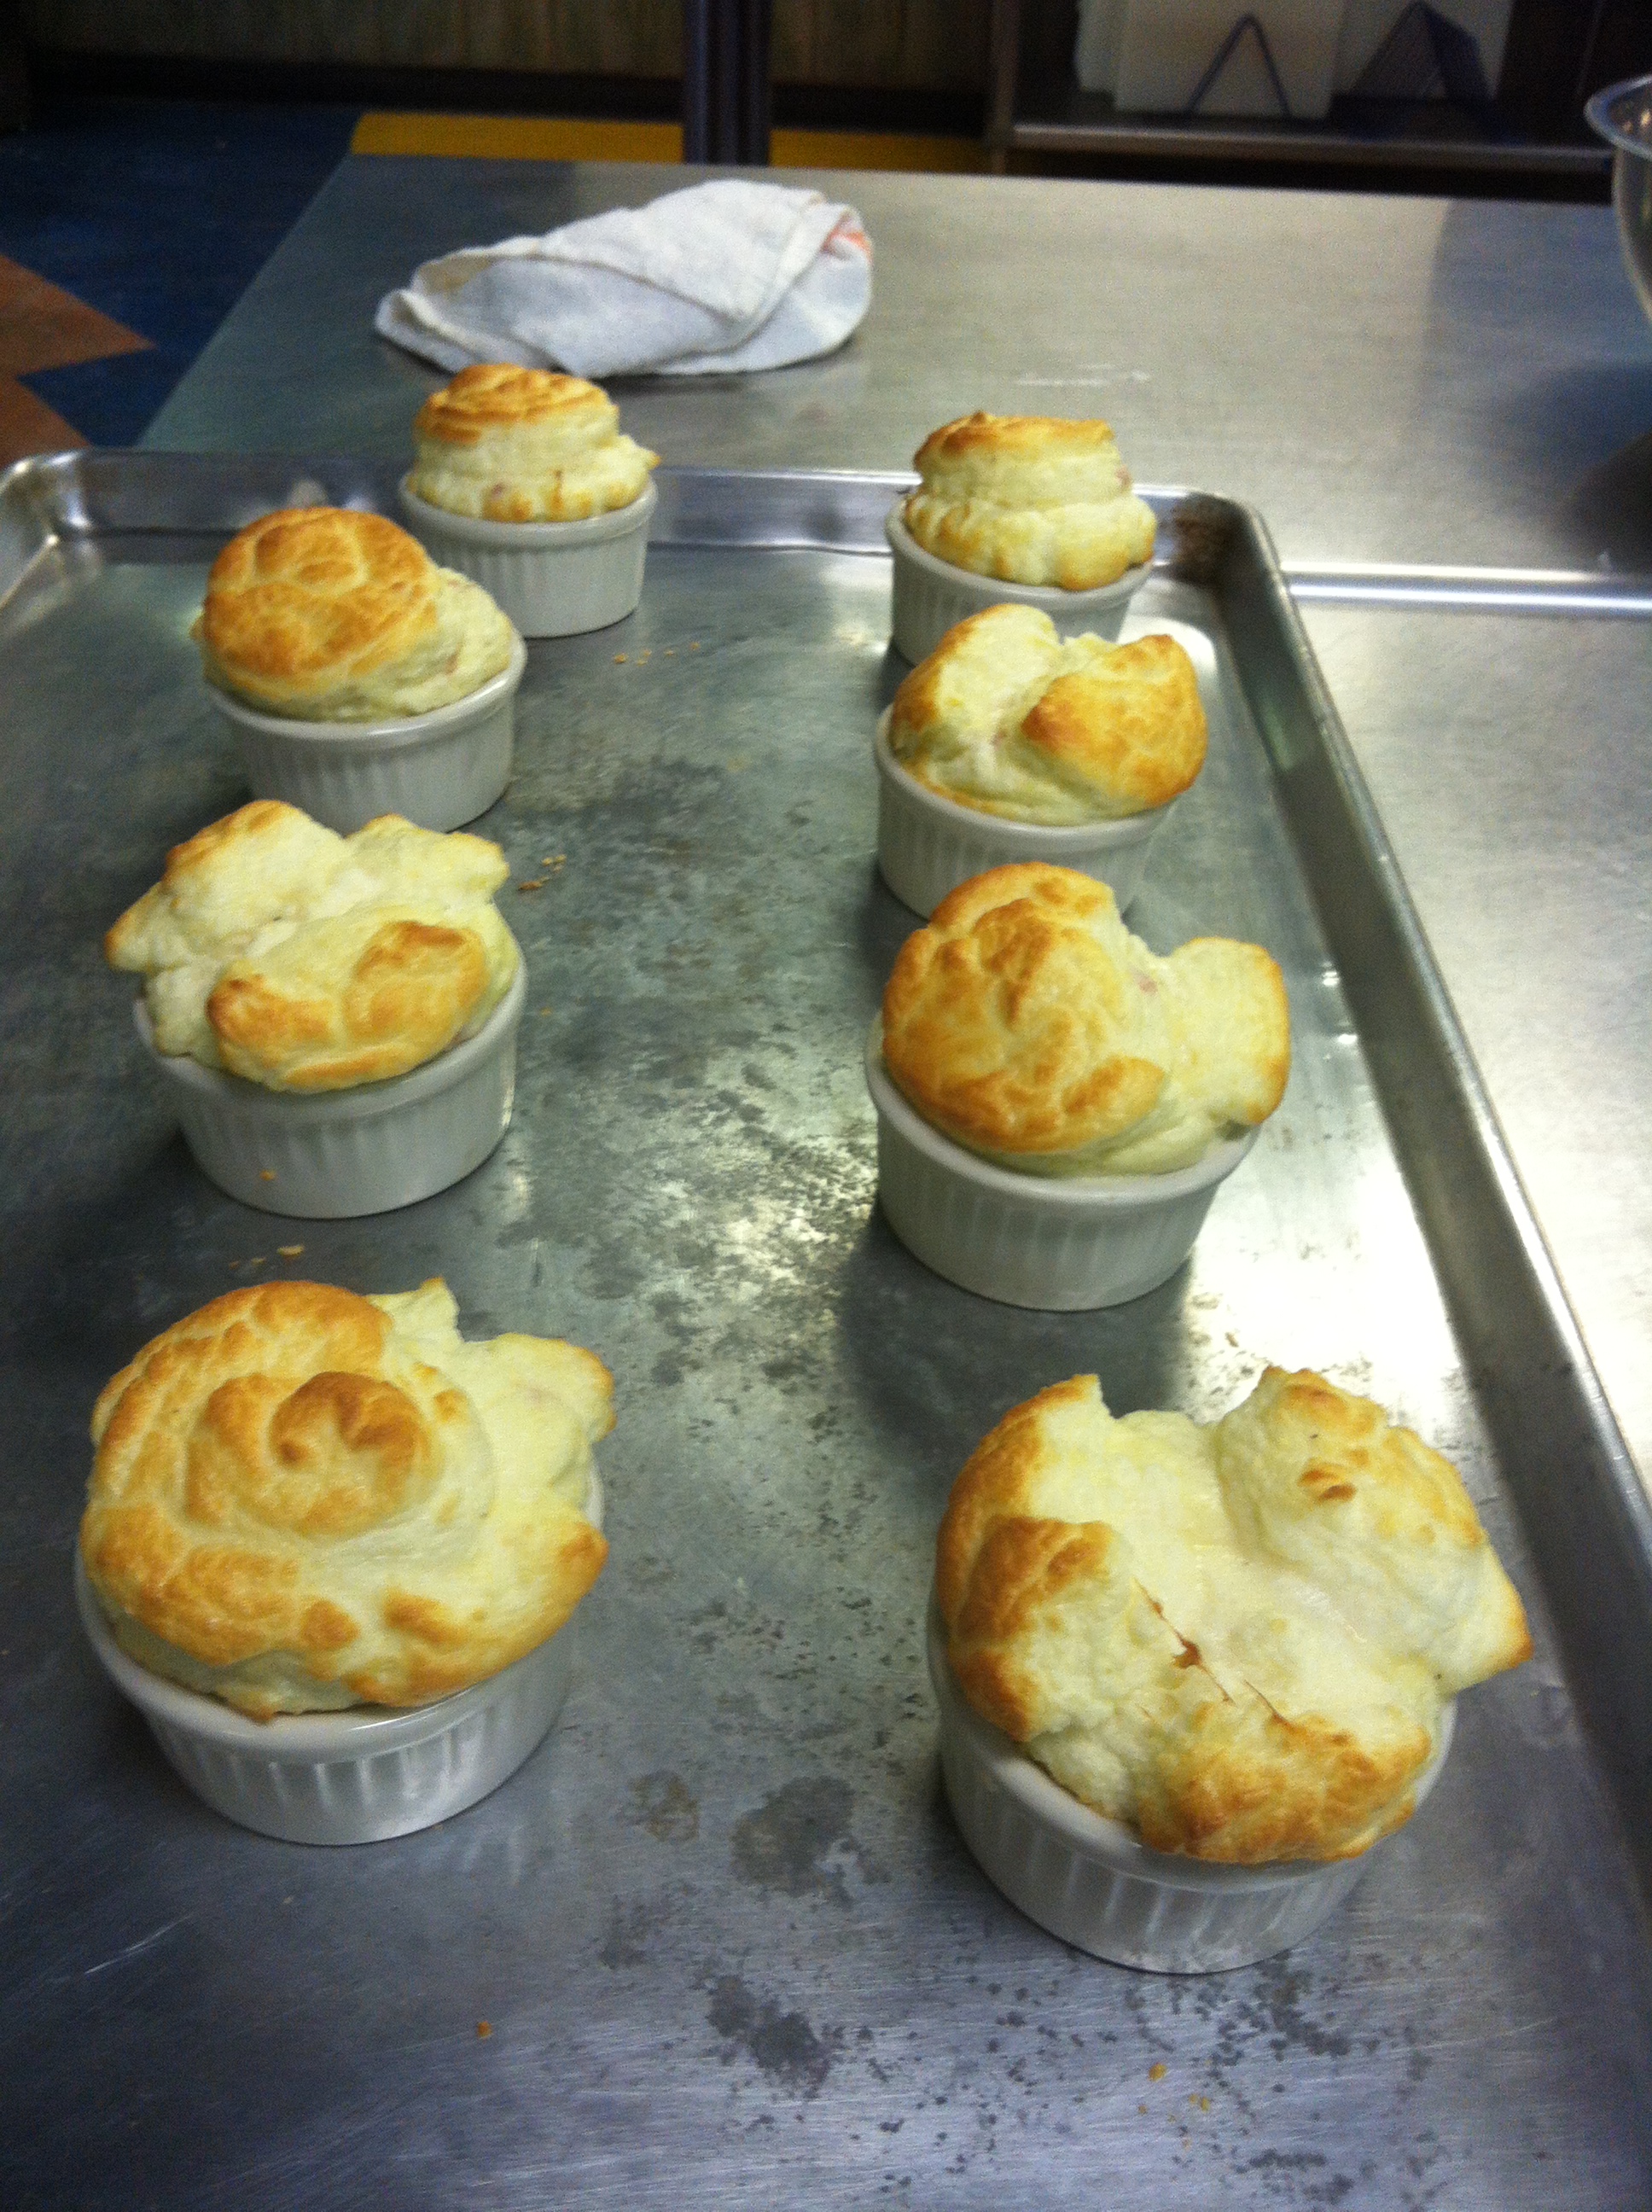
Week 6 was bar far the toughest week of the cooking classes. I had always wanted to attempt to make a souffle but was always intimidated by the process. Our chef broke down each step from the creation of the base, the whipping of the egg white, and the folding over of the two. After the class I was very excited to try to make a souffle for Easter.

photo 3

I chose to make a basic ham and cheese souffle in the class. Unfortunately I was unable to take pictures throughout the cooking process but I will give a few of the tips I learned. On Sunday I will post step by step pictures for the next souffle I make. The hardest part of making the souffle was whipping the egg whites. It is quite exhausting and as delicate as souffles are they are rough on the cook. An important tip before you whip the egg whites, add a pich of salt and 1 tsp cream of tartar for every 8 egg whites. These ingredients will help the eggs fluff up and not become too bubbly. It is also important to line your ramekins with something to allow the souffle to grip something as it climbs up the wall. For this souffles I used butter and Parmesan cheese. If I were making a sweet souffle I would have used sugar. The final tip came when we were mixing the base with the egg whites. During this step you want to keep folding the base over the whites until the mixture looks faintly streaky, do not stir the two together.

photo 2

You will probably be seeing a few souffle attempts in the coming weeks because they are fun, challenging, and rewarding to make. Keep checking the blog out to see how it goes.


Advertisement

Cooking Class Week 3: Game Birds

Duck1

Week three of the cooking class focused on game birds like duck, pheasant, and quail. At the beginning of the class the Chef talked us through all the different kinds of game birds and how their tastes differ. The techniques for breaking down the game birds were the same as the techniques we learned in week one with the chicken. I impressed myself and remembered the proper way to cut a bird in the European style. The dish I decided to cook was the Margret De Canard Au Poivre Vert, which is a pan cooked Muscovy duck with a green peppercorn cream sauce.

I chose this dish becasue I wanted to properly learn how to cook a duck. The most important lesson I learned is that you cook duck until it has the correct look, no need to stick to a certain time just cook it until your duck skin has a nice golden brown. In order to ensure proper cooking you must first heat a pan over high heat. Then rub oil, such as peanut or canola oil, and salt and pepper on duck. Once pan is heated place duck in pan, keep it at high heat until the edges of skin turn golden brown ~3-4 min. Turn down heat and continue to render the fat out of the duck. As more fat renders out of the duck feel free to drain the pan and keep duck fat to the side. As the duck is cooking take a spoon and pour rendered fat from pan over the duck to start to cook the opposite side. Once the skin side has reached your desired color and crispiness, flip the duck over and cook 1~2 min then remove from pan

Breaking Down A Chicken

photo 1 photo 2  photo 3

Today I practiced the techniques for breaking down a chicken I learned on Monday. As you can see from the first picture I started with the whole bird. I then used the knife skills I was taught and broke the bird down into quarters, also known as European style. I then further broke the bird down into eighths, also known as the American style. For the dish I wound up making I had to cut the chicken breasts in half so everything would cook evenly. If you look at the bottom left corner of the third picture you can see I also attempted to French the chicken wing. The chef in the cooking class went over this technique briefly but I thought I would give it a try.